This is the first time using Rhino and the 3D printing software. Rhino is still very new and there is still getting used to.
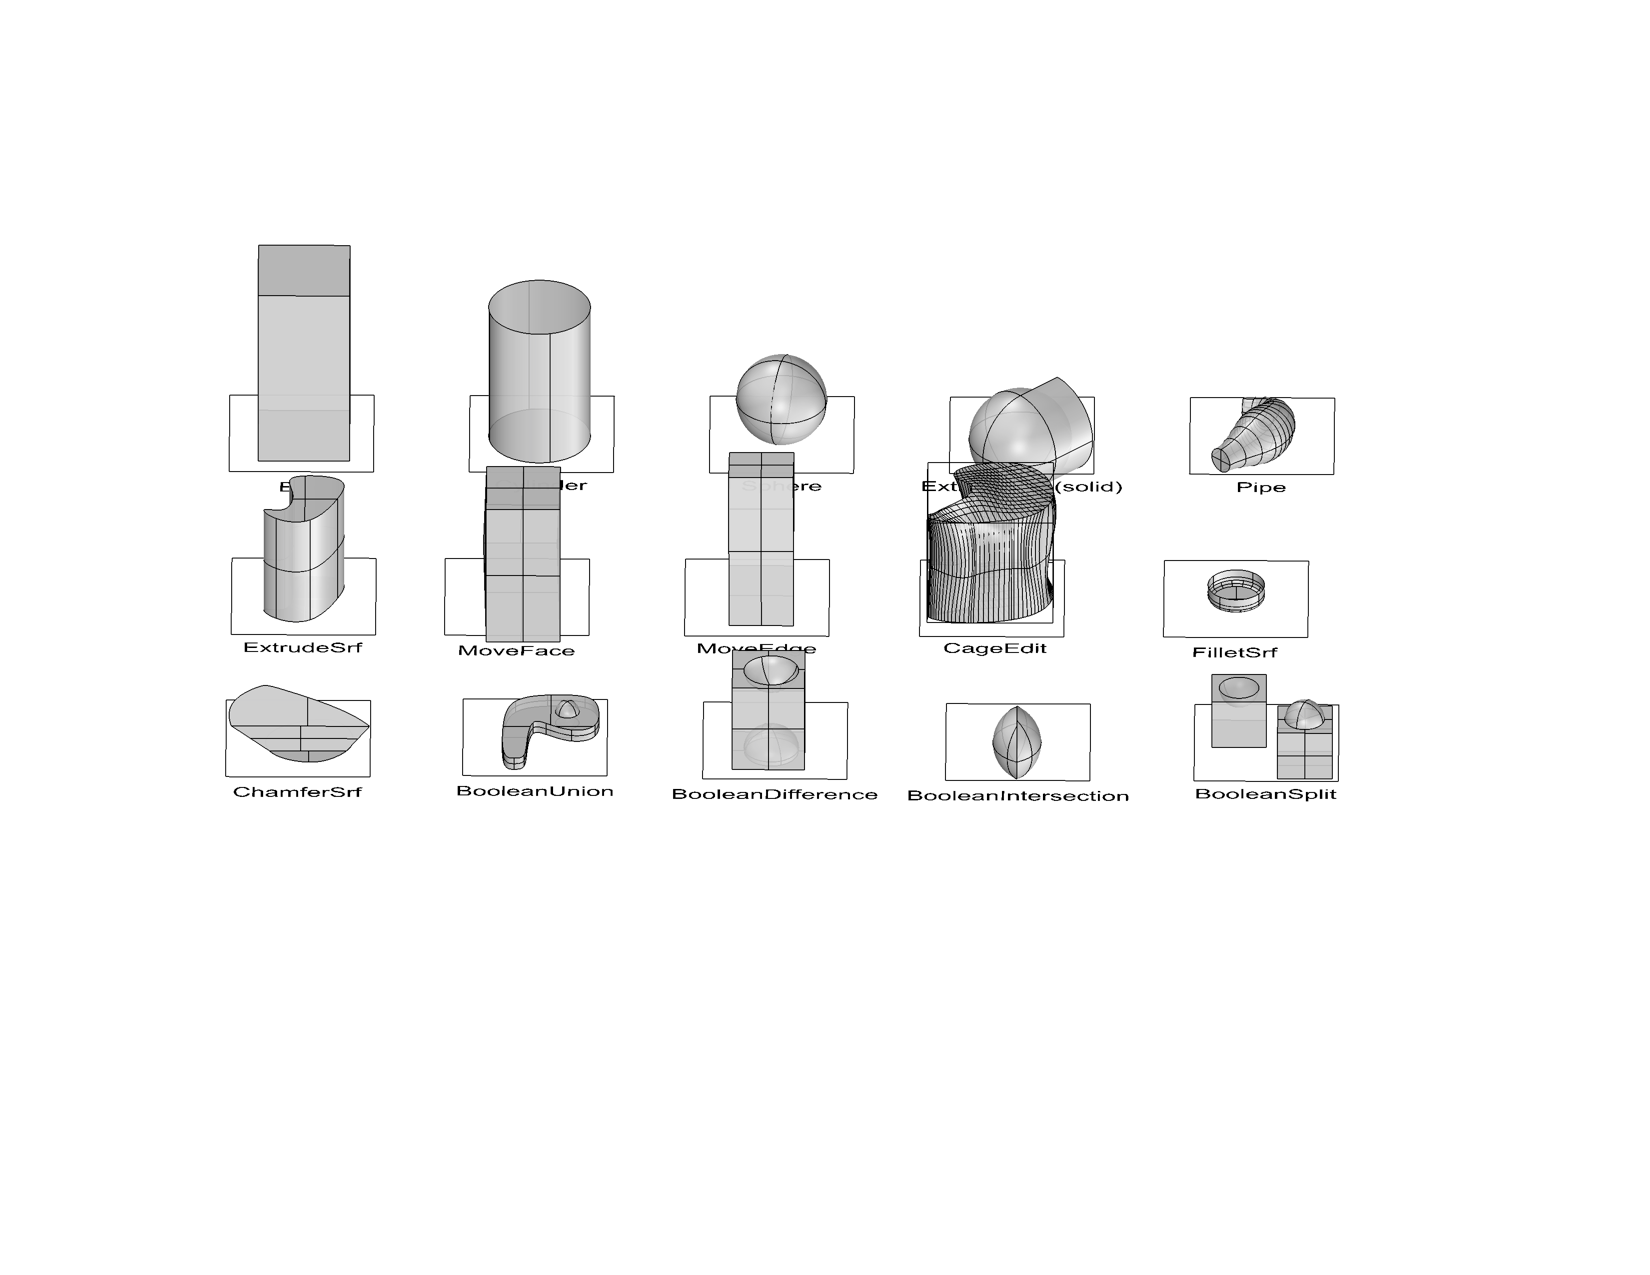
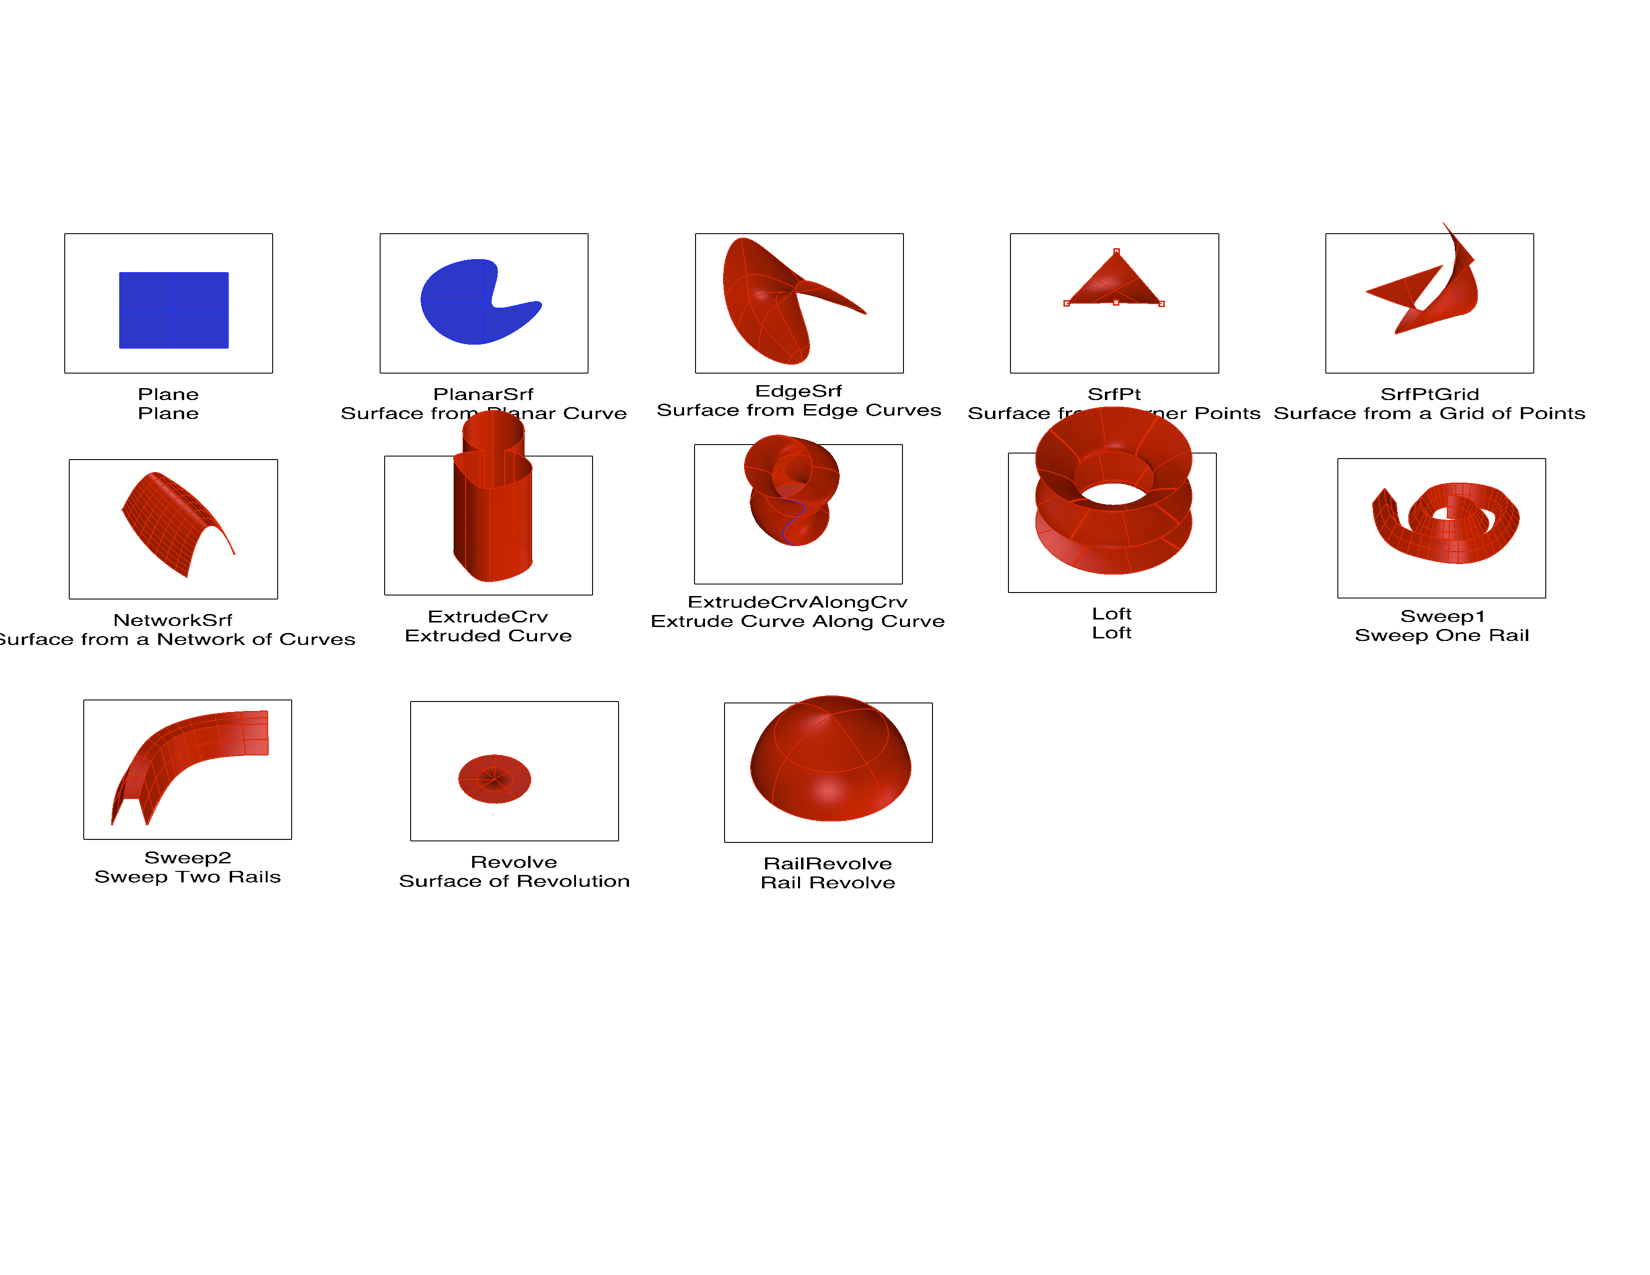
Parts a through c were the easiest. The objective was to get used to Rhino and some of its tools. Using its tools to create curves, surfaces, and solids. I will have to use these exercises as references when creating other models and objects. Even if I do forget, Rhino has a cool tool aid that helped complete the exercises. My favorite tools are the CageEdit, InterpCrv, PlanarSrf, BooleanUnion/difference/split, and ExtrudeSrf.

Something I am still struggling with: organizing my layers, coordinating my view, and using the tools learned together or for the bigger picture. I think with time I will learn to use them together and for bigger projects.
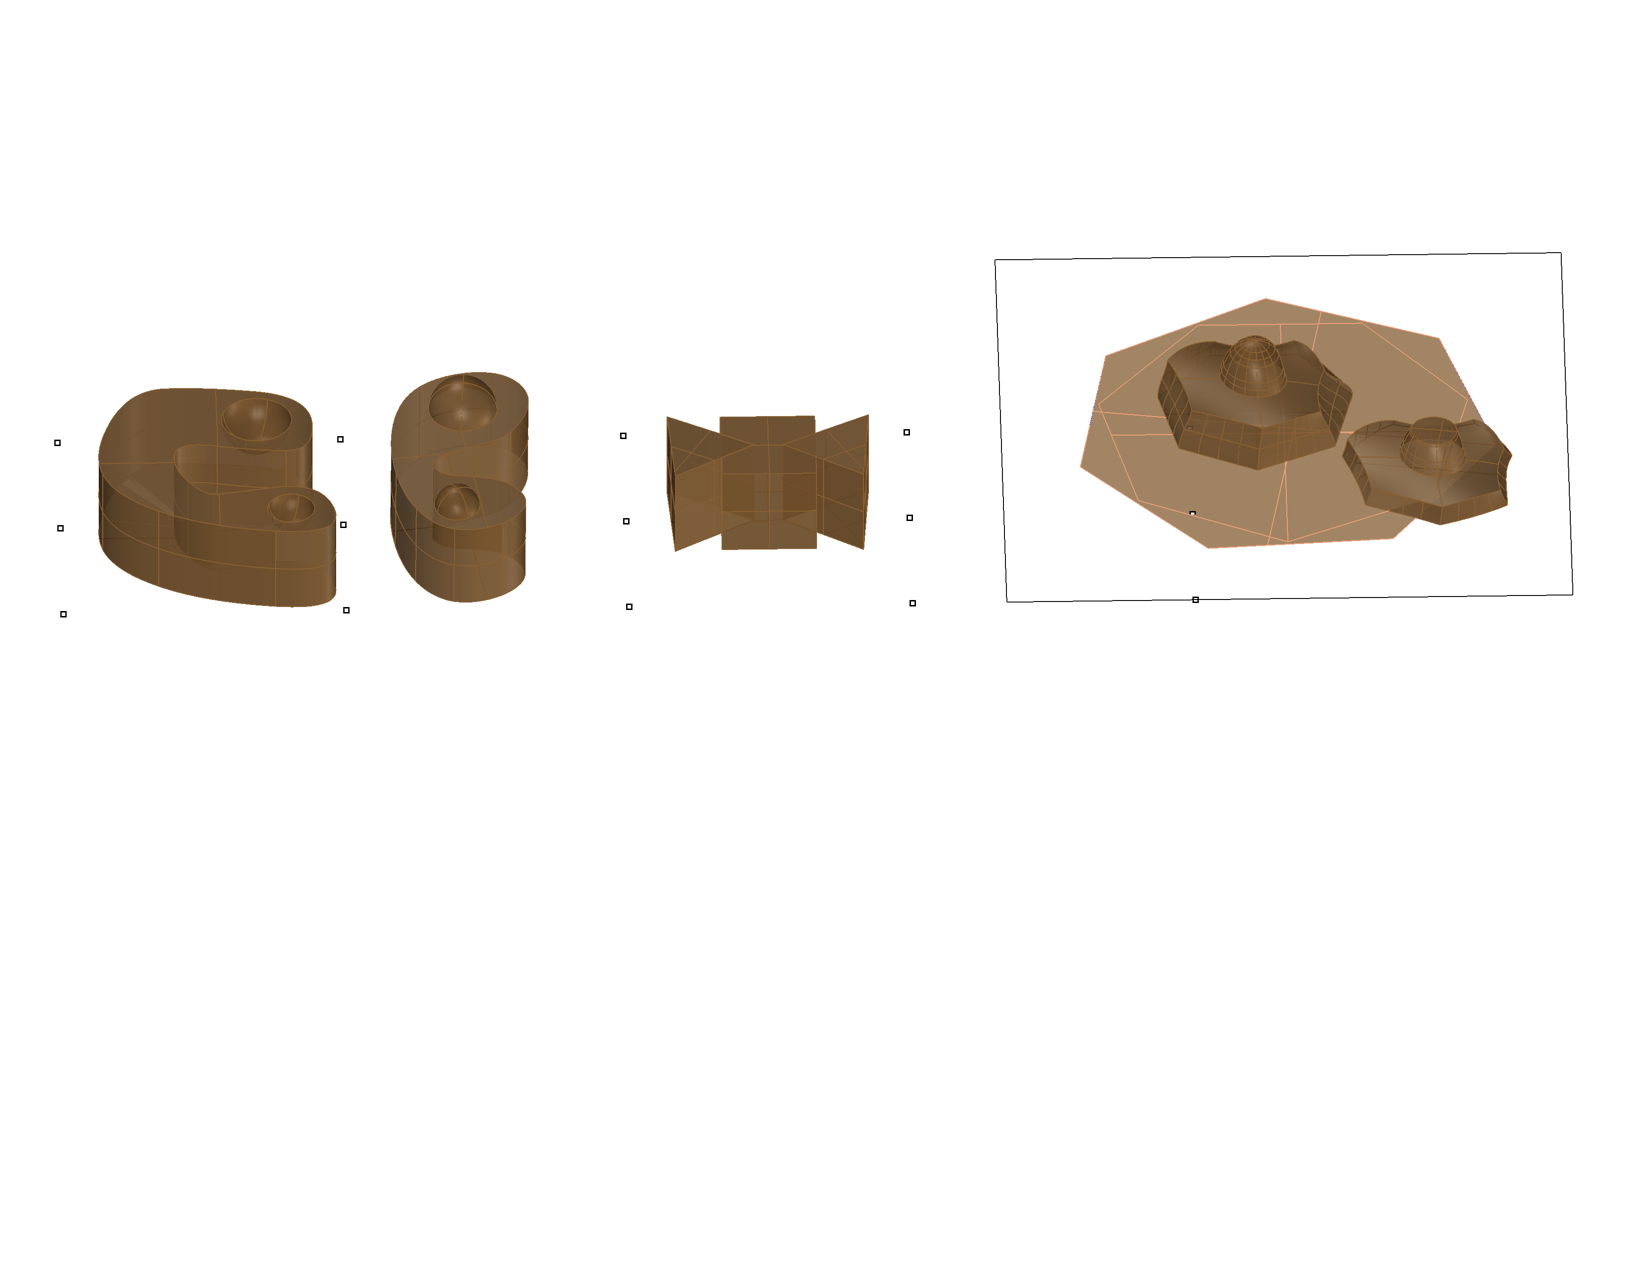
For part D of the lab, I had to create something and then 3D print the object. When creating these objects, I mostly used InterpCrv, Boolean Union, Boolean Difference, PlanarSrf, ExtrudeSrf, and CageEdit. I decided on using the first two pieces on the left to 3D print. I liked their shape and that one can be placed on top of the other.
Before printing the objects, both pieces were very big and I had to scale them down to reduce the amount of printing time. I had no problems for my first time 3D printing. The circles fit in perfectly with some wiggle room.


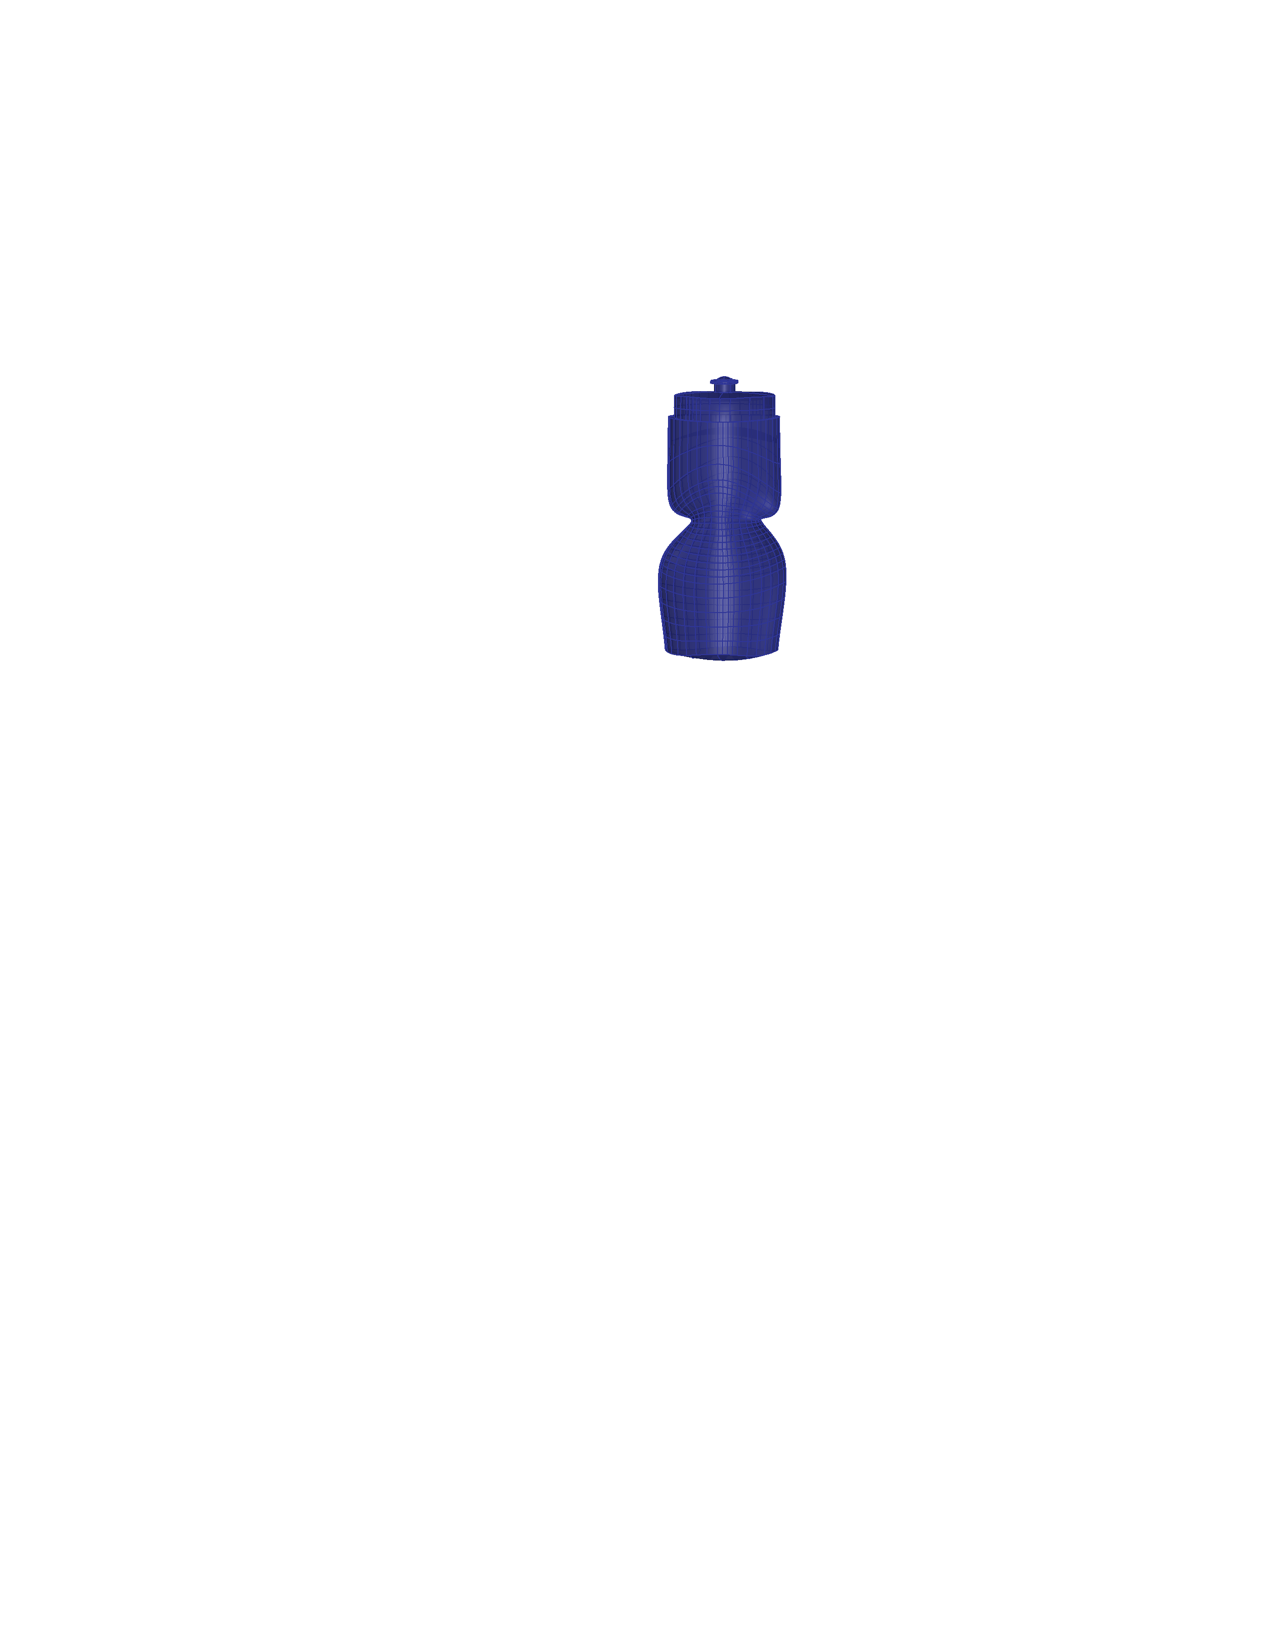
For the last exercise, I had to take pictures of an object and then re-create it on rhino. I choose what was right in front of me at the time, my water bottle. I thought modeling my water bottle would of been easy, but it turned out harder than I thought. There were many instances that I just couldn’t shape the water bottle. Things that made the process difficult, the way I took the pictures distorted the modeling process and correctly resizing each face to each other. I was not very happy with the water bottle especially with the bottom of the bottle.